Add Firebase Push Notifications to SaaS laravel Web App
If you’re building a restaurant SaaS platform with Laravel and want to notify staff in real-time when a customer places a new order or taps "Call Waiter", then this guide is for you!
We'll show you how to integrate Firebase Cloud Messaging (FCM) with a multi-tenant Laravel system and trigger push notifications to multiple devices — including Chrome on desktop, Android tablet, and Android mobile
Step 1: Set Up Firebase
- Go to Firebase Console
- Create or select a project
- Navigate to Project Settings > Cloud Messaging
- Save your Server Key and Sender ID
- Under General, register your Web App
- Grab the Firebase config (apiKey, projectId, etc.)
Step 2: Install Laravel FCM SDK
composer require kreait/firebase-php
In your .env file:
FCM_CREDENTIALS=/full/path/to/firebase-credentials.json
In config/services.php:
'fcm' => [
    'credentials' => env('FCM_CREDENTIALS'),
],
Step 3: Create a Firebase Notification Service
// app/Services/FCMService.php

namespace App\Services;

use Kreait\Firebase\Factory;
use Kreait\Firebase\Messaging\CloudMessage;
use Kreait\Firebase\Messaging\Notification;

class FCMService
{
    protected $messaging;

    public function __construct()
    {
        $this->messaging = (new Factory)
            ->withServiceAccount(config('services.fcm.credentials'))
            ->createMessaging();
    }

    public function sendToTokens(array $tokens, $title, $body, array $data = [])
    {
        $notification = Notification::create($title, $body);

        $message = CloudMessage::new()
            ->withNotification($notification)
            ->withData($data);

        return $this->messaging->sendMulticast($message, $tokens);
    }
}
Step 4: Store FCM Tokens in Database
Create a model and migration:
php artisan make:model FCMToken -m
In the migration file:
Schema::create('f_c_m_tokens', function (Blueprint $table) {
    $table->id();
    $table->unsignedBigInteger('restaurant_id');
    $table->string('token');
    $table->timestamps();
});
Then run:
php artisan migrate
Step 5: Add Firebase JS to Your Frontend
Paste this into your Blade layout or Vue component:
<script src="https://www.gstatic.com/firebasejs/9.6.10/firebase-app-compat.js"></script>
<script src="https://www.gstatic.com/firebasejs/9.6.10/firebase-messaging-compat.js"></script>

<script>
const firebaseConfig = {
  apiKey: "YOUR_API_KEY",
  authDomain: "YOUR_PROJECT_ID.firebaseapp.com",
  projectId: "YOUR_PROJECT_ID",
  messagingSenderId: "YOUR_SENDER_ID",
  appId: "YOUR_APP_ID"
};

firebase.initializeApp(firebaseConfig);
const messaging = firebase.messaging();

async function initFCM(restaurantId) {
  try {
    const permission = await Notification.requestPermission();
    if (permission === 'granted') {
      const token = await messaging.getToken({
        vapidKey: "YOUR_PUBLIC_VAPID_KEY"
      });

      await fetch('/api/register-fcm-token', {
        method: 'POST',
        headers: {
          'Content-Type': 'application/json',
          'X-CSRF-TOKEN': '{{ csrf_token() }}'
        },
        body: JSON.stringify({ token, restaurant_id: restaurantId })
      });
    }
  } catch (err) {
    console.error('FCM error:', err);
  }
}
</script>
Step 6: Create an API Route to Register Tokens
Route::post('/api/register-fcm-token', function (Request $request) {
    $request->validate([
        'token' => 'required',
        'restaurant_id' => 'required|integer',
    ]);

    \App\Models\FCMToken::updateOrCreate(
        ['token' => $request->token],
        ['restaurant_id' => $request->restaurant_id]
    );

    return response()->json(['success' => true]);
});
Step 7: Add the Service Worker
In your public/ folder, create firebase-messaging-sw.js:
importScripts('https://www.gstatic.com/firebasejs/9.6.10/firebase-app-compat.js');
importScripts('https://www.gstatic.com/firebasejs/9.6.10/firebase-messaging-compat.js');

firebase.initializeApp({
  apiKey: "YOUR_API_KEY",
  projectId: "YOUR_PROJECT_ID",
  messagingSenderId: "YOUR_SENDER_ID",
  appId: "YOUR_APP_ID"
});

const messaging = firebase.messaging();

messaging.onBackgroundMessage(function(payload) {
  const { title, body } = payload.notification;
  self.registration.showNotification(title, {
    body: body,
    data: payload.data
  });
});
Register it in your main script:
navigator.serviceWorker.register('/firebase-messaging-sw.js')
  .then((registration) => {
    messaging.useServiceWorker(registration);
  });
Step 8: Trigger Notifications from Laravel
Whenever a new order or "Call Waiter" event occurs:
use App\Services\FCMService;
use App\Models\FCMToken;

$tokens = FCMToken::where('restaurant_id', $restaurantId)->pluck('token')->toArray();

$title = "New Order!";
$body = "Table {$tableNumber} placed an order.";

$data = [
    'restaurant_id' => $restaurantId,
    'table_number' => $tableNumber,
];

app(FCMService::class)->sendToTokens($tokens, $title, $body, $data);
✅ Done!
Your Laravel app now supports:
✅ Real-time push notifications
✅ Multi-device, multi-table, multi-restaurant structure
✅ Firebase-based delivery via web browser
Comments
Great Tools for Developers

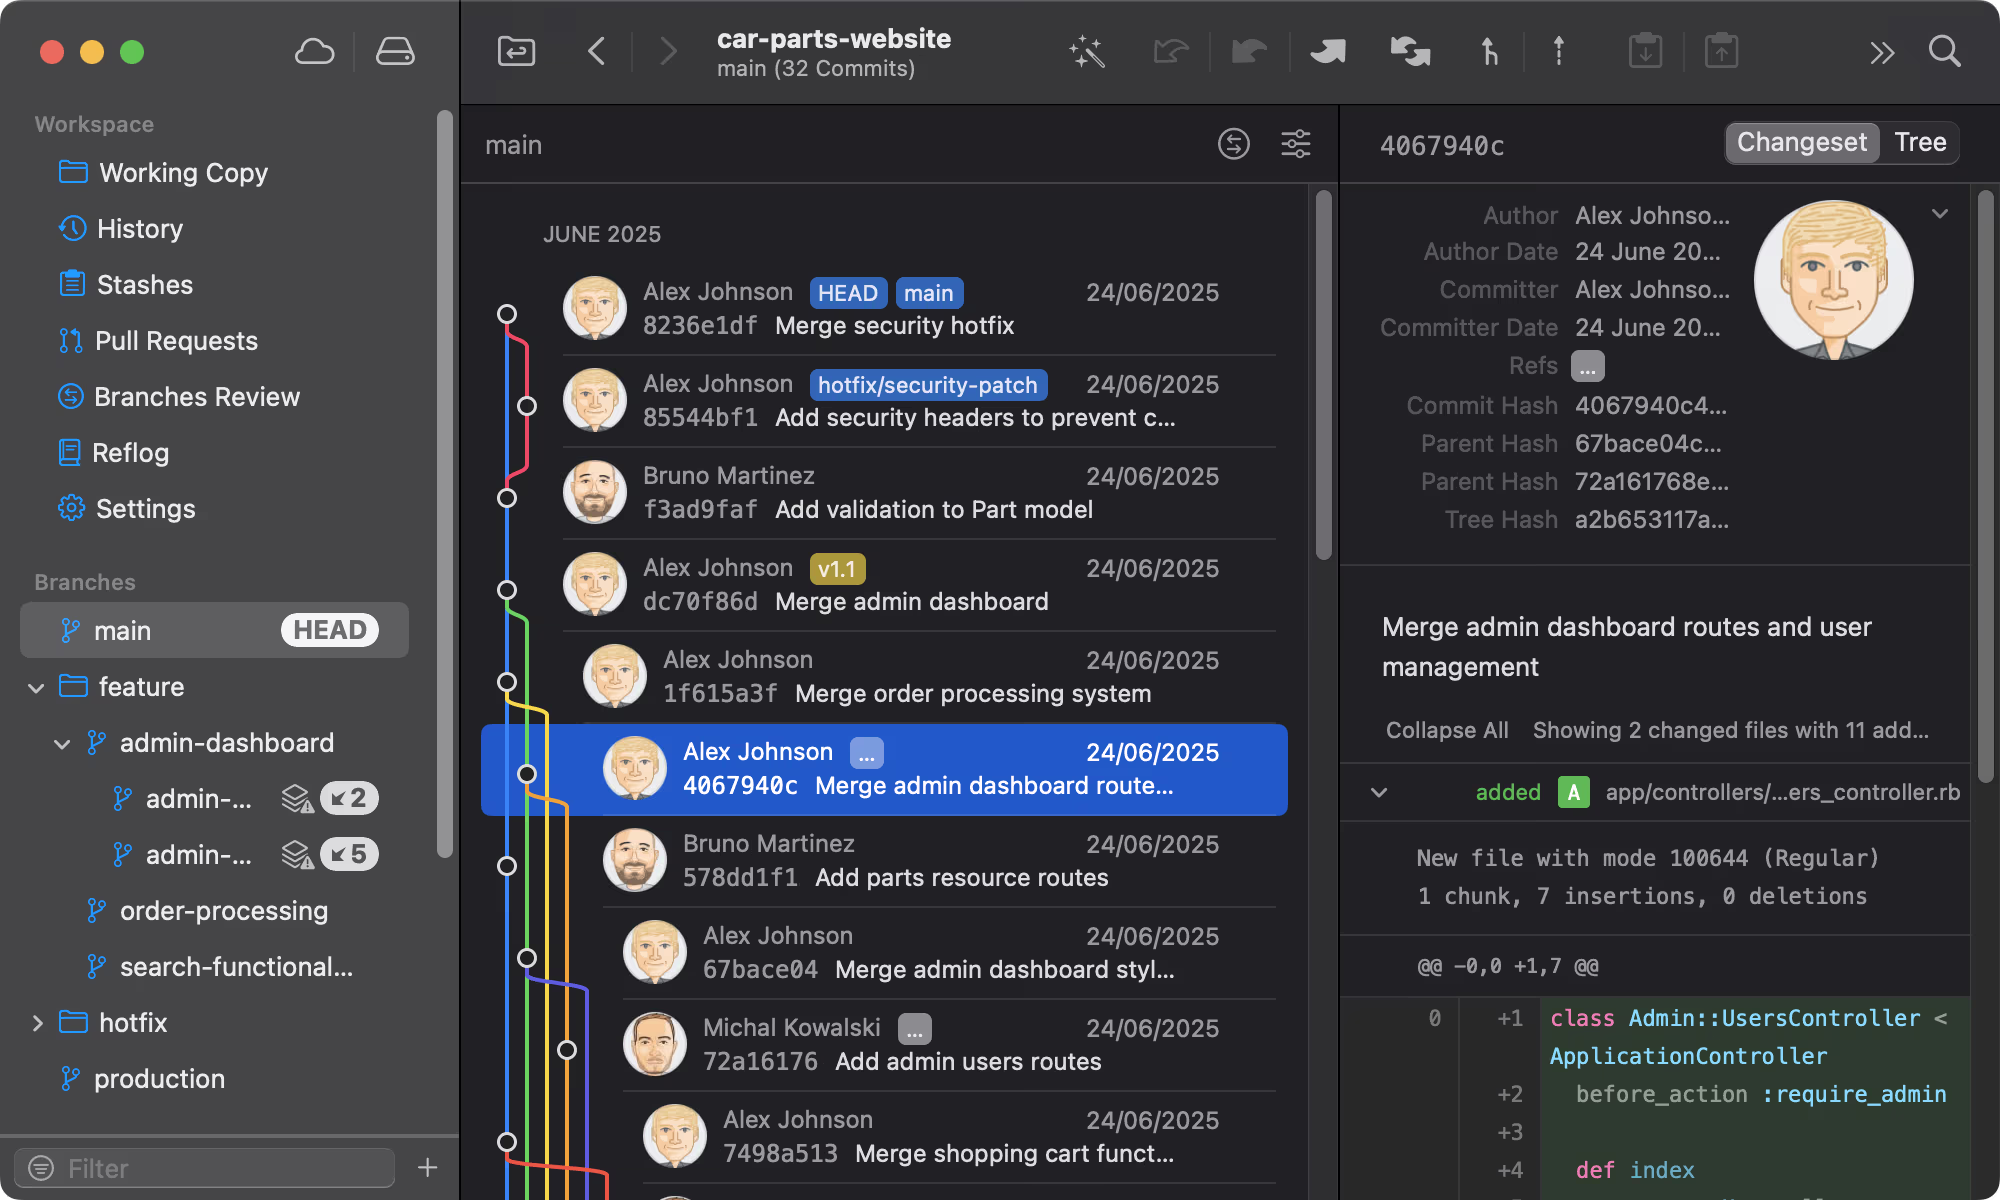
Git tower
A powerful Git client for Mac and Windows that simplifies version control.

Mailcoach's
Self-hosted email marketing platform for sending newsletters and automated emails.

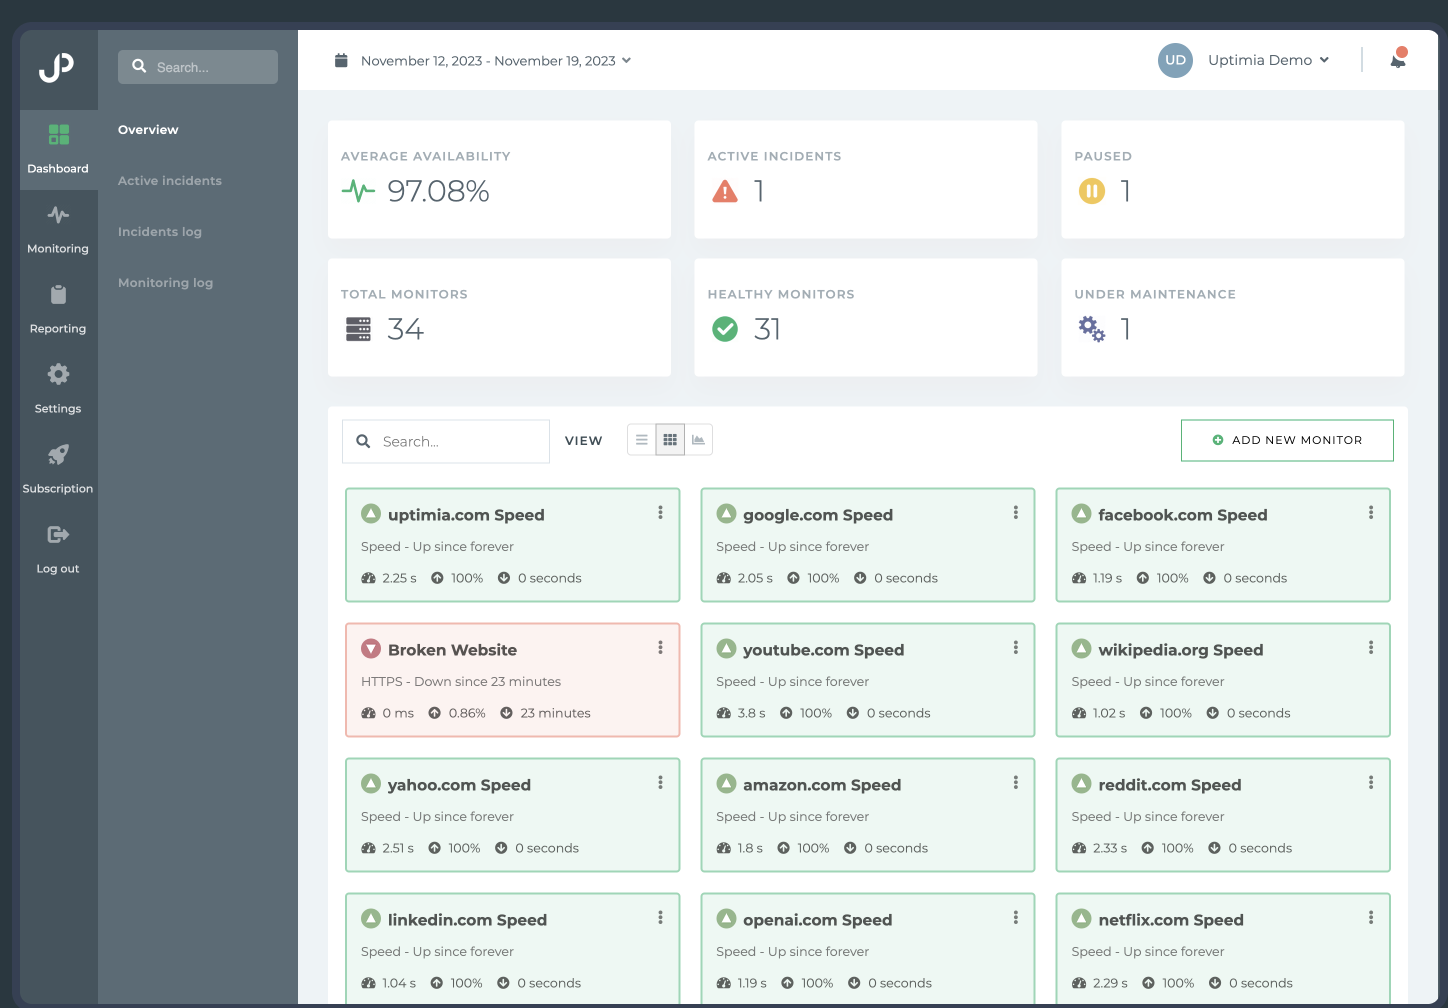
Uptimia
Website monitoring and performance testing tool to ensure your site is always up and running.
Please login to leave a comment.