
Fermin Perdomo
Full Stack Developer

Creating a Comments System with Statamic 4 and Antlers without plugin
Throughout this article, we will explore creating a system that will allow site visitors to leave "comments" on Statamic 4 entries. Once complete, users will be able to add comments to entries. The system we will be building will show comments previous visitors have left on an entry.
Development Overview
Before we start writing custom PHP code and developing our Antlers templates, lets take a moment to think about what we are going to build. We want to build a system that allows visitors to submit their comments to a piece of content. At a high level we will have to develop the following pieces in order to make this work:
Data Store: A place to store the comments
Frontend: A user interface to allow the user to leave a comment
Backend: The custom PHP code to actually receive and store submitted comments
Data Storage: We will change the files store to use the database and laravel model for entries and users
We need to change our data store from files to database, as well as a user data store to use the Laravel model. We we will to change the following to make this work:
Entries: We will change the entries to store the data in the database instead of files
Users: We will have to change the user storage to use the Laravel model
Storing Entries in a Database
Statamic stores your content in "flat files" by default, but its data layer is completely driver-driven – giving you the ability to store content anywhere. In this article we'll show you how to store entries in a database with Laravel Eloquent.
For this, we will need to install the Statamic Eloquent Driver:
composer require statamic/eloquent-driver
Publish the config file:
php artisan vendor:publish --tag="statamic-eloquent-config"
Starting from an existing site (using UUIDs)
If you're planning to use existing content, we can use the existing UUIDs. This will prevent you from needing to update any data or relationships.
In the
config/statamic/eloquent-driver.phpfile, changeentries.modelto\Statamic\Eloquent\Entries\UuidEntryModel::class.Run
php artisan vendor:publish --provider="Statamic\Eloquent\ServiceProvider" --tag=migrations.Run
php artisan vendor:publish --tag="statamic-eloquent-entries-table-with-string-ids".Run
php artisan migrate.
Publishing migrations seperately
Alternatively, you can publish each repository's migrations individually:
php artisan vendor:publish --tag="statamic-eloquent-asset-migrations"
php artisan vendor:publish --tag="statamic-eloquent-blueprint-migrations"
php artisan vendor:publish --tag="statamic-eloquent-collection-migrations"
php artisan vendor:publish --tag="statamic-eloquent-form-migrations"
php artisan vendor:publish --tag="statamic-eloquent-global-migrations"
php artisan vendor:publish --tag="statamic-eloquent-navigation-migrations"
php artisan vendor:publish --tag="statamic-eloquent-revision-migrations"
php artisan vendor:publish --tag="statamic-eloquent-taxonomy-migrations"
Storing Users in a Database
Statamic has a built-in users eloquent driver if you'd like to cross that bridge too. Follow the link and do the instructions to switch the user to database.
Creating new model entries commentable
To simplify things, we'll be using the Laravel package called "Laravel comments":
composer require beyondcode/laravel-comments
The package will automatically register itself.
You can publish the migration with:
php artisan vendor:publish --provider="BeyondCode\Comments\CommentsServiceProvider" --tag="migrations"After the migration has been published you can create the media-table by running the migrations:
php artisan migrateYou can publish the config-file with:
php artisan vendor:publish --provider="BeyondCode\Comments\CommentsServiceProvider" --tag="config"Using Laravel model as entries
Create a new model "EntryModel" in your laravel models folders:
                                            <?php

namespace App\Models;

use BeyondCode\Comments\Traits\HasComments;
use Statamic\Eloquent\Entries\UuidEntryModel as StatamicUuidEntryModel;

class EntryModel extends StatamicUuidEntryModel
{
    use HasComments;

}
In the
config/statamic/eloquent-driver.phpfile, changeentries.modelto\App\Models\EntryModel::class.Also, we added the HasComments trail to our model to allow comments.
Writing the PHP Code to Store comments
To begin this section we are going to first create a new Antlers partial which will give us a place to start placing our frontend code to test submitting comments. We will continue updating this partial throughout the article to build out a better user experience. To get started, create a new resources/views/partials/_comments.antlers.html file with the following contents:
.png)
We now want to update the resources/views/blog/show.antlers.html template file to include our partial so we can start experimenting. Update this template file to include the partial below the main_content section:
.png)
If we load a blog post in our browser, we should see output similar to the following:
 Adding a comment and click on submit button will currently effectively refresh the page with the the value of the comment to our page's URL. It is at this stage that we want to try and submit comments and save them. If you are used to "typical" PHP development of creating a file on a web server and navigating to that page (or using the name of a PHP file as form's action), we are going to do something very similar, but utilize a concept called routing.
Since Statamic 4 is built on top of the Laravel framework, we can utilize its routing features in order to "hook up" our HTML buttons and make them "do things" on the backend server. At the highest level, routes give us a way to create a URL and specify what PHP code should be executed when that URL is invoked. Our project's routes are defined within the routes/ directory.
Open the routes/web.php file and update the contents to the following to add a new comments route:
                                            Route::post('/comments', function () {
    dd('Submission', request()->all());
})->name('comments.store');
The Route Laravel class provides many useful methods to help create routes; in the previous example we are calling the post method to indicate that our URL can only be accessed when browsers submit a request using the POST HTTP verb (we will update our partial's HTML form later to use this as the form's method). The first argument (comments) tells Laravel the URL must be in order for our function to be called. At the very end, we are also giving our route a friendlier "name" by calling the name method. The name we provide ("comments.store") can be used later with Statamic's route tag in order to generate the full URL that our form will need.
Let's update the resources/views/partials/_comments.antlers.html comments partial again to have the following contents:
.png)
Don't forget to add the {{ csrf_field }} line otherwise you will receive 419 Page Expired errors when attempting to submit comments!
The changes we just made accomplish the following:
Sets our form's method to
POSTto match the method we called when defining our route,Utilizes Statamic's
routetag to generate the URL to the route we created earlier, using the "friendlier" name we gave it in our routes fileUsed the
{{ csrf_field }}Statamic variable to output a hidden form field containing a CSRF tokenCreated a hidden
entryHTML field containing our entry's identifier as its value
Refreshing the blog post and add a comment should now call our PHP function within the routes file and produce output similar to the following:
                                            "Submission"
array:3 [
  "_token"   => "some_token_value"
  "entry"    => "3929d74a-53bd-498a-a8cb-4ba58b8081f1"
  "comment" => "test comment"
]
To actually store a comment on our entry we will need to accomplish the following:
Retrieve the Statamic entry
Add the new comment
We will used our custom model App\Models\EntryModel which contains useful methis that allows us to find entries through by their identifier, slug, etc. We will be using the method that allows us to find an entry by its id (which we are sending as part of our form's POST request, through the entry hidden field). Lets update our routes/web.php file to contain the following contents:
                                            <?php

use Illuminate\Support\Facades\Route;
use Illuminate\Http\Request;
use App\Models\EntryModel as Entry;
use App\Models\User;

Route::post('comments', function (Request $request) {

  $validated = $request->validate([
	'comment' => 'required',
	'entry' => 'required',
  ]);

  $entry = Entry::find($request->get('entry'));
  $user = User::where('email', '[email protected]');
  $entry->commentAsUser($user, $validated['comment']);

  // Return the visitor to the URL they just came from.
  return redirect()->to(url()->previous())->with('success', 'Comment added successfully.');
})->name('comments.store');
With these PHP code changes in place submitting revisions by adding a comment the form submit button on the blog entry should now update the entry's actual comment table. To verify, you can login into your database and you should see the comment on the comments table:
 At this point, we can submit comments but are unable to see what comments have already been submitted. We will tackle these items throughout the remainder of this article.
Implementing the comment list
We are almost done with our comments system, but still need to implement the existing comments that visitors can see the comments previously submitted. We will implement this using a custom tag.
To generate the custom tag scaffolding, issue the following command from the root of your project:
php please make:tag CommentsOnce the tag file as been created, open the app/Tags/Comments.php file and update its contents to the following:
                                            <?php

namespace App\Tags;

use App\Models\User;
use Statamic\Tags\Tags;

class Comments extends Tags
{
    /**
     * The {{ comment }} tag.
     *
     * @return string|array
     */
    public function index()
    {
        $entryId = $this->params->get('entry_id');
        $entry = \App\Models\EntryModel::find($entryId);
        return $entry->comments->map(function ($comment) {
            return [
                'name' => User::find($comment->user_id)->name,
                'comment' => $comment->comment,
                'created_at' => $comment->created_at,
            ];
        });
    }
}
Our tag will accept a entry_id parameter, which will contain the entry data we want to pull the existing coment for that entry.
We will use the \App\Models\EntryModel to find the entry by ID. Use the comments relationship field to get all the comments and return them as an array.
Back within our resources/views/partials/_comments.antlers.html partial, add a section with the following:
Refreshing our blog page we can now see all the previously submitted comments.
{{ comments entry_id="{{ id }}" }}
<div class="flex space-x-4 text-sm text-gray-500">
<div class="flex-1 py-10 border-t border-gray-200">
<h3 class="font-medium text-gray-900">{{ name }}</h3>
<p><time datetime="2021-07-12">{{ created_at }}</time></p>
<div class="prose prose-sm mt-4 max-w-none text-gray-500">
<p>{{ comment }}</p>
</div>
</div>
</div>
{{ /comments }}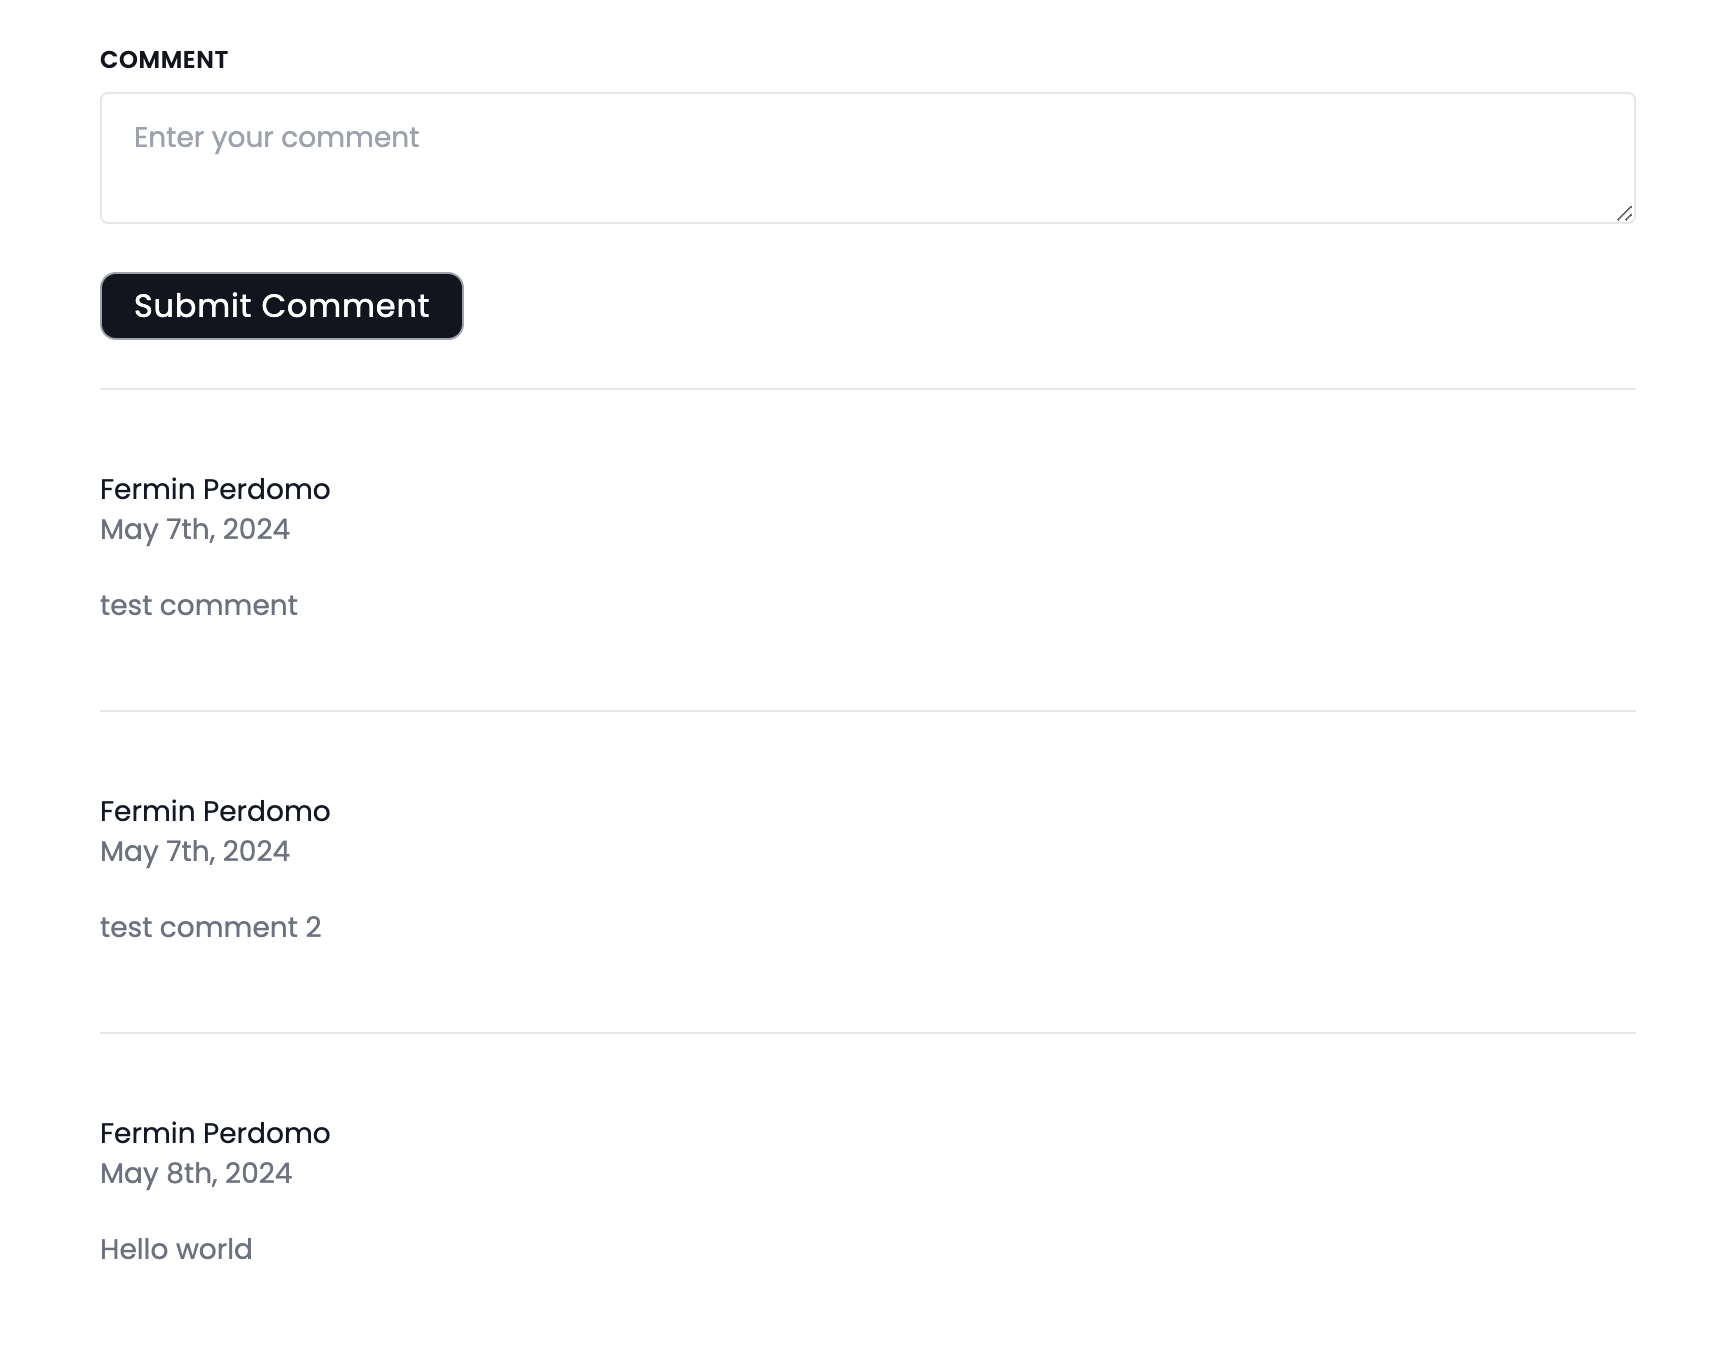 Wrapping Up
Throughout this article we covered a number of intermediate-to-advanced topics. We created our own custom Laravel route to update our blog's entries when a user submits a comment.
We also created a custom Antlers tag to return a list of comments for a blog post that has been received.