How to add reaction to your models using Reactify
Fermin Perdomo
February 5, 2025
In this tutorial, we will show you how to add reactions using the Reactify Laravel package created by the PHPDominica community.
InstallationYou can install the package via composer:composer require phpdominicana/reactifyYou can publish and run the migrations with:php artisan vendor:publish --tag="reactify-migrations"
php artisan migrateYou can publish the config file with:php artisan vendor:publish --tag="reactify-config"This is the contents of the published config file:return [
];Optionally, you can publish the views usingphp artisan vendor:publish --tag="reactify-views"UsageAdd the trait to the model you want to add reactions.class comments extends Model
{
use Reactify;
}Sample usage$comment = Comment::find(1);
$comment->react($user->id, Reaction::LIKE);
$comment->react($user->id, Reaction::DISLIKE);
$comment->react($user->id, Reaction::LOVE);
$comment->react($user->id, Reaction::HAHA);
$comment->getReactCountByType(Reaction::LIKE);
Comments
Great Tools for Developers

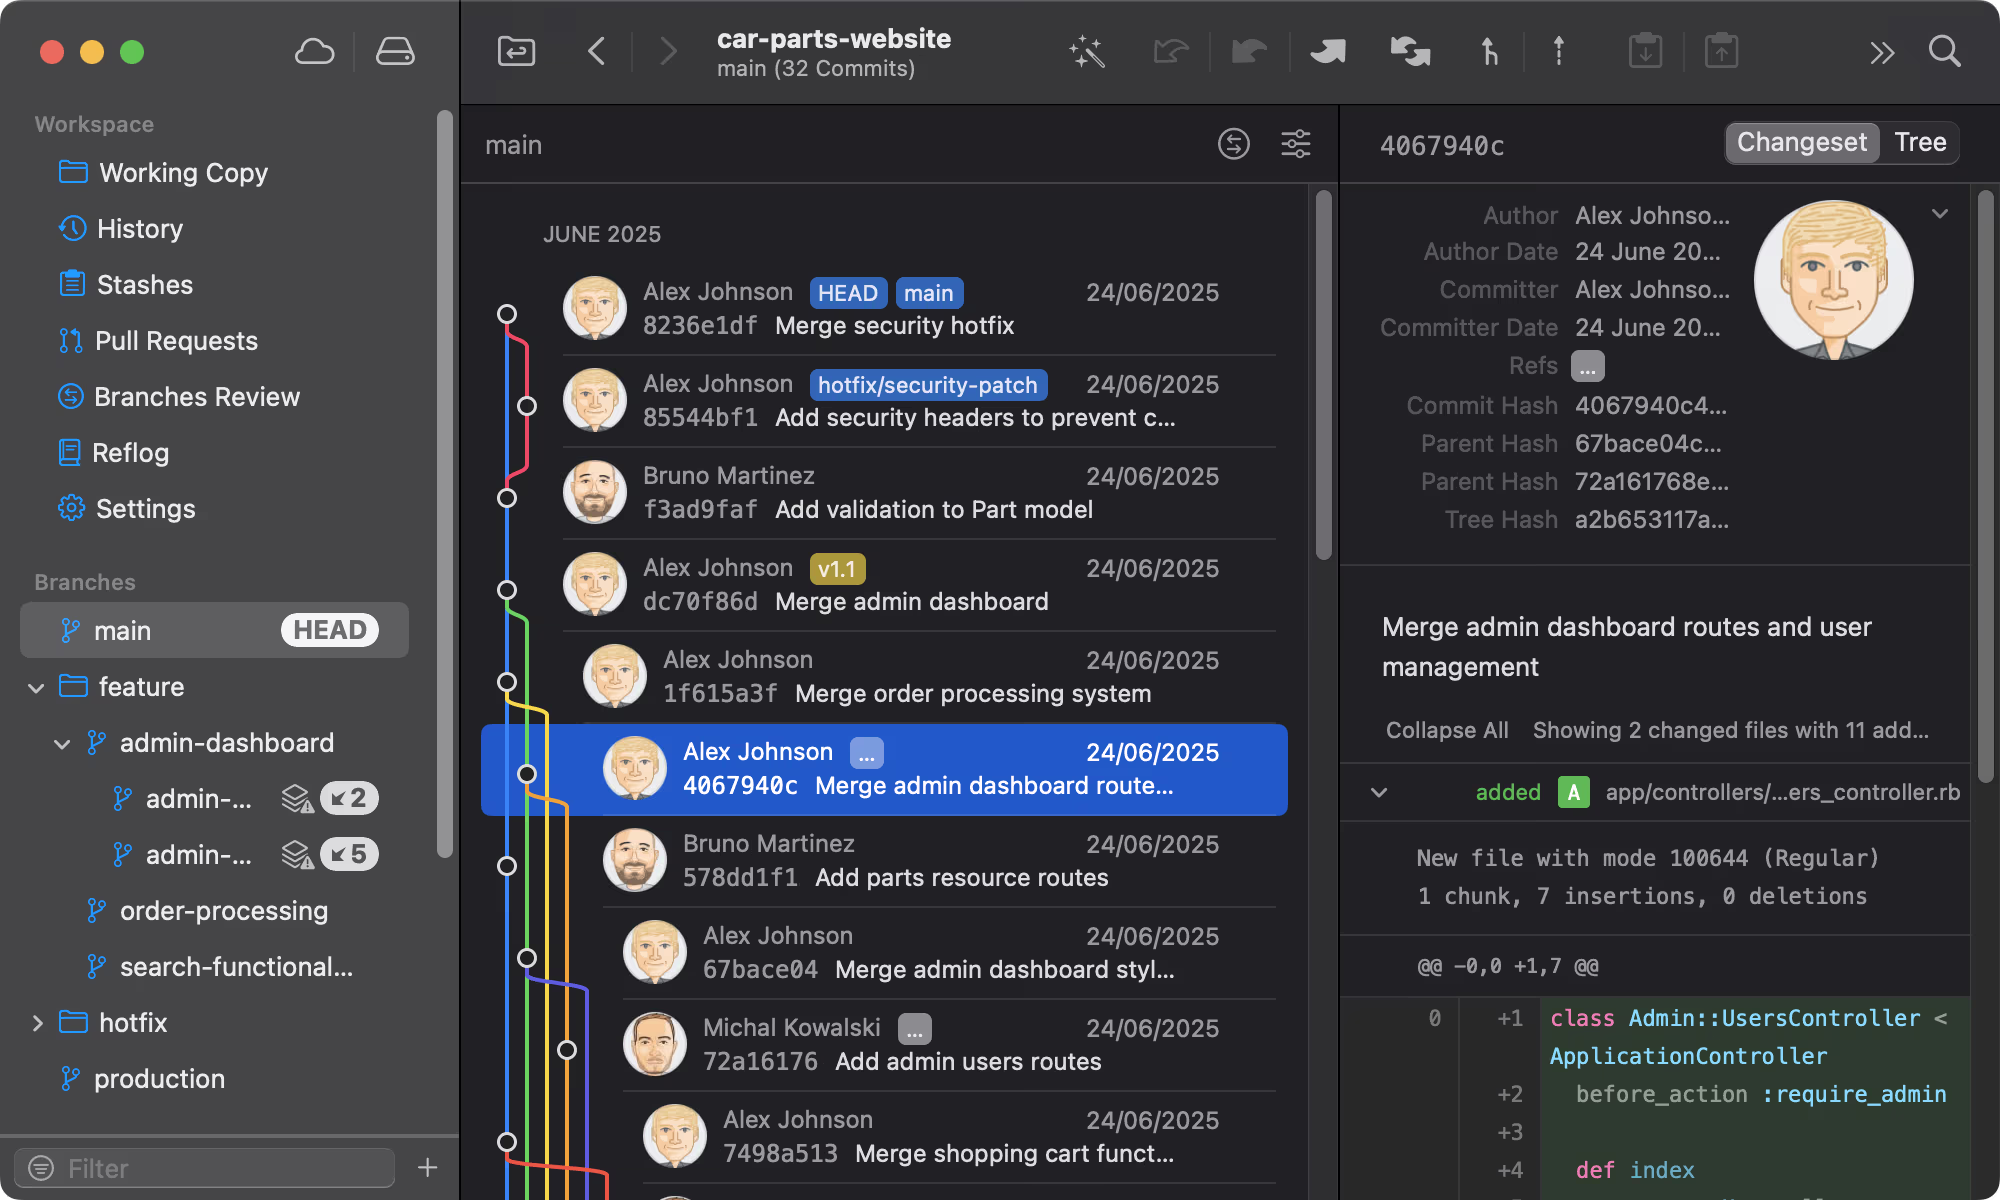
Git tower
A powerful Git client for Mac and Windows that simplifies version control.
Get Started - It's Free
Visit Tool

Mailcoach's
Self-hosted email marketing platform for sending newsletters and automated emails.
Start free
Visit Tool

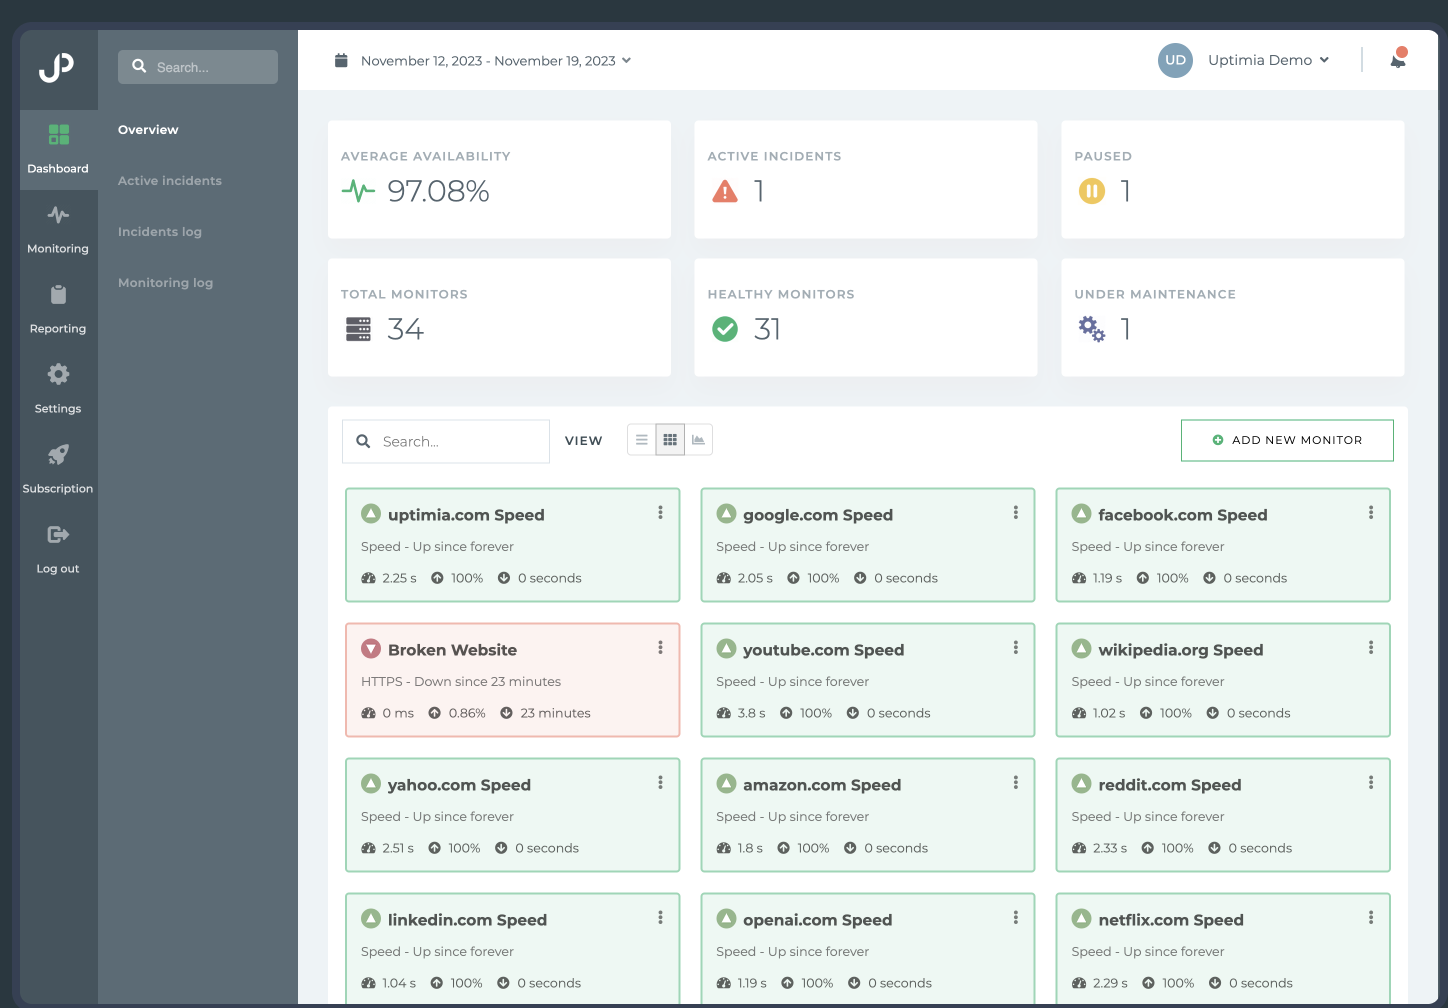
Uptimia
Website monitoring and performance testing tool to ensure your site is always up and running.
Start free
Visit Tool
Please login to leave a comment.